If you have a background in web design or desktop publishing you might be familiar with the concept of ‘cell padding’, where tables have a certain amount of ‘padding’ space within the cells. Excel doesn’t have a concept of cell padding, but the same effect can be achieved by resizing rows and columns and changing the alignment settings of cells.
Excel’s ‘grid’ layout can make it challenging to create the layouts you need, but using the techniques shown in this article should allow you to create almost any layout.
If you’re unfamiliar with resizing Excel rows and columns you could greatly benefit from our completely free Basic Skills E-book, which will teach you the basics of Excel in a very short time.
Centering text inside a cell
A common ‘cell padding’ requirement is to center some text inside a cell with ‘padding’ space surrounding it.
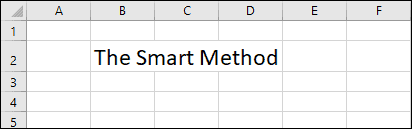
In this example I want to center the text The Smart Method in cell B2 with padding around it.
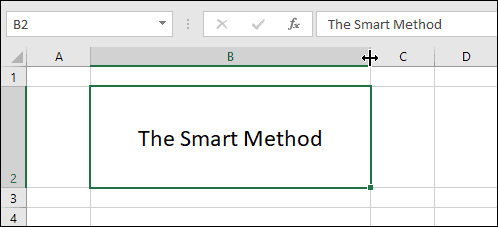
The first thing to do is click on cell B2 to select it and set its horizontal and vertical alignment settings to Center and Middle Align.

Now the text in cell B2 will always be centered within it. If you resize column B and row 2 you should be able to achieve the ‘padded’ effect you need.
You should be able to achieve this using just the skills taught in our free Basic Skills E-book.
Indenting text
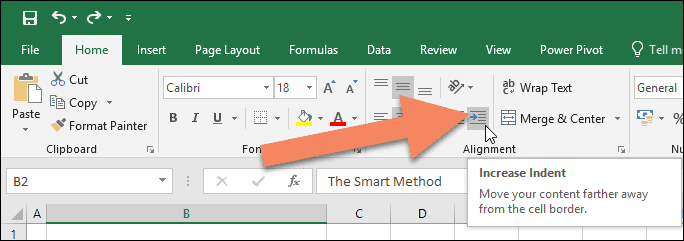
Sometimes you want to add padding to the left of a cell instead of centering it. You can do this by using the Home > Alignment > Increase Indent button.
Using Drawing objects
There may be times when you need a design that simply can’t be achieved by formatting cells. In these cases you can insert ‘Drawing’ objects, including text boxes, speech bubbles, arrows and many other shapes.
Drawing objects can be inserted using the Insert > Illustrations group on the Excel Ribbon.
Text boxes and drawings are covered in greater depth in our Essential Skills and Expert Skills Books and E-books.